In the world of AI automation, n8n has established itself as one of the most powerful and flexible tools available. Whether you are looking to automate business workflows or streamline your personal life, the first hurdle is always the setup.
In a recent deep-dive tutorial by GenAI Unplugged, the “Step by Step: How to Set Up n8n Cloud” guide breaks down exactly how to get started in minutes. Here is a summary of the key takeaways to help you decide which path is right for you.
The Big Debate: Cloud vs. Self-Hosting
Before clicking “Install,” you need to choose your environment. Each has distinct advantages depending on your technical skill and budget.
1. n8n Cloud (The Easy Way)
This is the fastest way to start. You simply register through your browser and begin building immediately.
- Pros: No installation required, zero infrastructure management, and access to thousands of pre-built templates [02:42].
- Cons: Requires a paid subscription after the trial, and you have slightly less control over where your data and logic “reside” compared to local hosting [03:01].
- Best for: Beginners or teams who want to move fast without technical overhead.
2. Self-Hosting (The Power User Way)
If you have a home server or a dedicated VPS, you can host n8n yourself.
- Pros: Total control over your data, higher flexibility for complex logic, and no monthly subscription fees to n8n (though you pay for your own server) [03:44].
- Cons: Requires technical knowledge to manage servers and perform updates.
- Best for: Developers and privacy-conscious users.
Step-by-Step: Setting Up n8n Cloud in Under 5 Minutes
If you’ve decided that the Cloud version is for you, here is the streamlined process to get your workspace live:
- Visit the Site: Go to n8n.io and click on “Get Started for Free” [04:17].
- Registration: Fill out the simple form with your name and a company email ID. You will also need to choose a unique Account Name (e.g.,
yourname.app.n8n.cloud), which becomes your permanent workspace URL [04:51]. - No Credit Card Required: The current setup offers a 14-day free trial without requiring any payment information upfront, making it completely risk-free to test your first few automations [05:48].
- Initial Survey: Answer a few quick questions about your team size and coding experience to help n8n tailor your experience [06:14].
- Launch: Once complete, your workspace is ready. You can immediately click “Create Workflow” to open the canvas and start dragging and dropping nodes [07:11].
What’s Next?
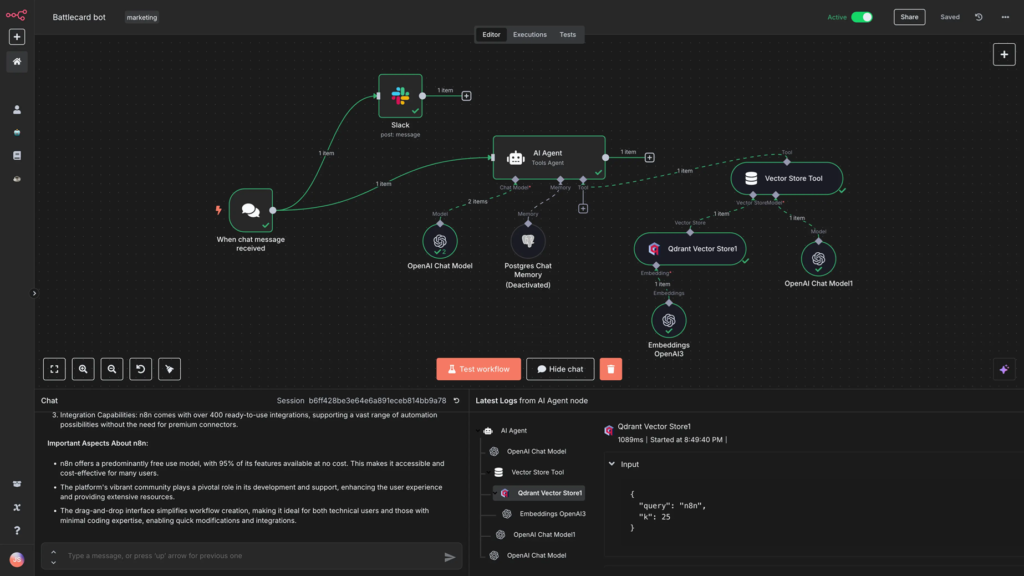
Once your account is active, you are greeted with a clean, node-based interface. From here, you can explore Triggers (what starts the automation) and Nodes (the specific actions, like sending an email or querying an AI model).
Building your first workflow is as simple as clicking the + icon and connecting the dots. Whether you’re a seasoned coder or a total beginner, the barrier to entry for AI automation has never been lower.
Watch the full tutorial here: How to Set Up n8n Cloud in 2026