If you’re moving beyond the basics of the n8n interface, it’s time to master the most important concept in the platform: Nodes. In n8n, a workflow is essentially a collection of nodes that perform specific tasks, starting from a trigger and ending with an action.
In a recent tutorial by GenAI Unplugged, the “n8n Node Types Explained” guide breaks down the four primary categories of nodes you’ll use to build any automation.
The 4 Main Types of n8n Nodes
To build effective workflows, you need to understand how different nodes function and interact.
1. Trigger Nodes (The “Alarm Clock”)
A trigger node is what starts the workflow. It tells the automation to “wake up” and begin its job based on a specific event.
- Examples: A new email arriving, a form submission, a file upload, or a specific schedule (e.g., every Monday at 8 AM) [01:59].
- Pro Tip: Every production workflow must have at least one trigger node to function automatically [02:59].
2. App/Action Nodes
These nodes interact directly with external systems. They are used to request, send, or edit data in third-party apps.
- Examples: Sending a message to Slack, updating a row in Google Sheets, or creating a ticket in Jira [00:57].
3. Core Nodes
Core nodes perform logic and data transformation within n8n without necessarily calling an external service.
- Examples: Filter nodes (only process orders over $100), Set nodes (rename or add data fields), or Code nodes (write custom JavaScript or Python for advanced logic) [03:14].
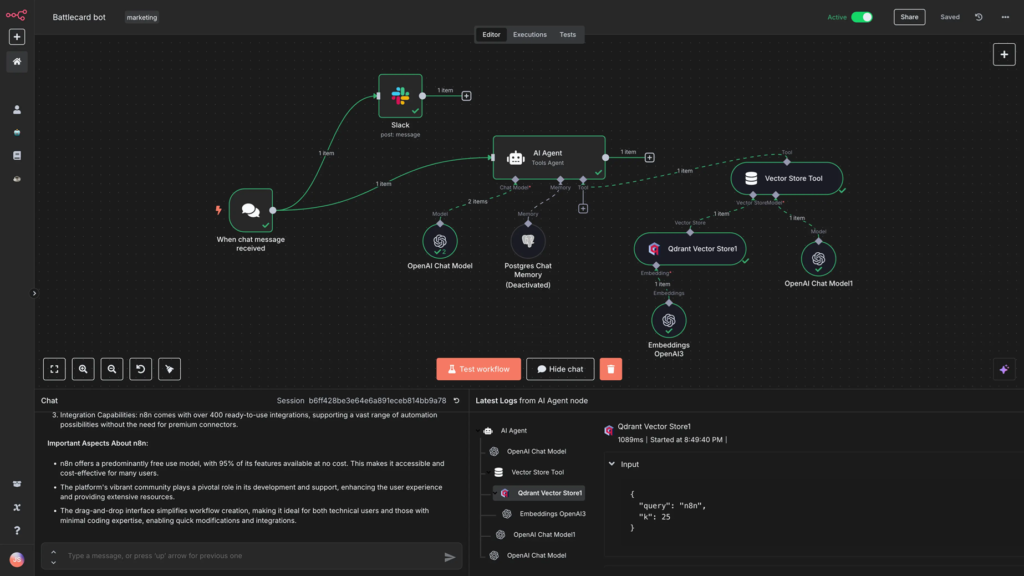
4. Cluster Nodes (Advanced)
Cluster nodes are groups of nodes working together for complex tasks. The most common example is an AI Agent node, which combines multiple functions to handle intelligent reasoning [01:34].
Hands-On: Building Your First Node Connection
The best way to learn is by doing. Here’s a quick look at how to configure your first node using Google Sheets as an example:
- Add a Manual Trigger: Start with a “Manual Trigger” node so you can test your workflow with a single click [05:10].
- Connect an App Node: Click the
+icon and search for “Google Sheets.” Select an action like “Get Rows” [06:48]. - Configure Credentials: You’ll need to link your Google account. n8n makes this easy with an OAuth sign-in process that takes just a few seconds [08:41].
- Map the Data: Select your document and sheet. Once configured, you can click “Test Step” to see the data pulled directly into n8n [10:05].
Pro Feature: “Pinning” Data for Faster Testing
One of n8n’s most useful developer features is the Pin Data option.
When you “pin” data (look for the blue icon), n8n saves a snapshot of the data from that node. This allows you to continue building the rest of your workflow without having to re-fetch data from the external app every time you run a test. It saves time and prevents unnecessary API calls to your services [14:36].
Summary
Building in n8n is like playing with digital LEGOs. By understanding whether you need a Trigger to start, a Core node to filter, or an Action node to send data, you can build incredibly complex systems one step at a time.
Watch the full deep-dive here: n8n Node Types Explained (2026)